Creating a Shepard Tone

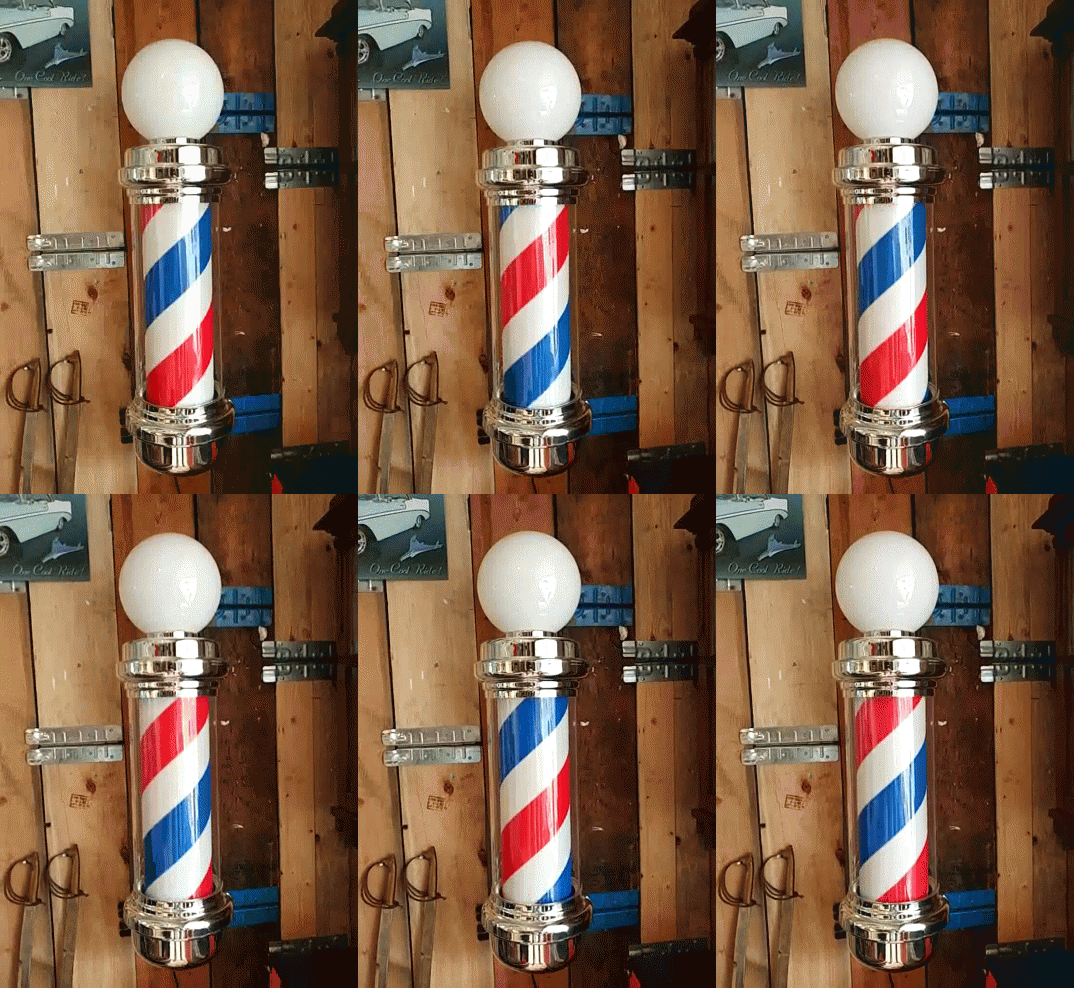
Doctor Duck had the fantastic idea to create a Shepard tone to layer underneath the guitar hum for our Back to the future sound replacement project. The goal was to add to the psychoacoustic tension and suggest that the scene is building up to something. We had all done a bit of research on the Shepard tone but it proved to be harder to get it right than any of us imagined. A Shepard tone is an auditory illusion that sounds like it is descending or ascending when it is in actual fact a loop. Think of it as a fountain or one of those candy bars they used to have outside barber stores.
A nice little video explaining what a Shepard tone is

So our goal was to create a Shepard tone from the guitar hum we'd recorded. So we found a section of guitar hum that was almost a sine wave, we cut a section of it and put it into logic pro to start building up the tone. The first thing we did was add single notes into midi. All 12 notes of the chromatic scale from C ascending up to C, if you wanted it to descend you would simply descend the notes from highest to lowest. We did this in 3 octaves, then we decreased the volume and velocity of the highest octave and increased it on the lowest octave. This did create a rising feeling but was very jolting and far from perfect plus you could really hear the start of each new cycle and that is not what we wanted.
We tried overlapping the notes which didn't really help, we tried just using a pure sine wave that didn't really work either. So after a quick break, we watched some tutorials on creating a Shepard tone. We found one guy who had done exactly what we had done and got pretty much the same result. Not much help but at least we knew from reading the theory and applying the knowledge we were on the right track. We found a step by step article with great tones and we followed those steps but it was still missing something. We could still hear it restarting we thought we were just not trimming and fading the loop properly and we were on the right track. We then found a video tutorial which was just what we needed.
This was the most useful video we found
There is a trick to getting it to loop smoothly and we ended up approaching this in quite a complex manner. We created a session in ProTools at 24 frames per second and we added 6.5 seconds of guitar hum. We then duplicated it 3 times, we decreased the volume and velocity of the highest octave and increased it on the lowest octave. once we had those tones layered we bounced them into a new clip and the just raised the pitch on that final clip. But here is the trick to it, make the tone start half a note below the first note and end half a note above the last note. This is essentially an audio loop version of making sure you have enough ribbon to tie the ends together after you wrap a present. Once this was done we looped it up and boomshanka! We had finally succeeded in creating a Shepard tone and even though it took us a long time to get it right it was well worth the effort. We layered it with some guitar hum and used it in our Back to the Future sound replacement project. You can hear the results in the finished video below at the 40 second mark.
This was a really interesting concept to study and figure out. It's more technical and scientific than playing rock n roll. But I found it quite intriguing. This is something I know Doctor Duck really wanted to learn this technique to use in trance and electronic music production. I can see myself using this in ambient music production and in film sound in the future.
Bibliography:
Elliott, M. (2017). Sound Design: Falling Forever (The Shepard Tone). Music & Audio Envato Tuts+. Retrieved 27 November 2017, from https://music.tutsplus.com/tutorials/sound-design-falling-forever-the-shepard-tone--audio-10219


